Using Light Meters as Creative Tools
The professional video industry's #1 source for news, trends and product and tech information. Sign up below.
You are now subscribed
Your newsletter sign-up was successful
We have a lot of tools to measure exposure, but to me, the light meter is the simplest and truest. Every cinematographer has a different way of checking exposure in a shot, whether it’s a single tool (such as false color), a combination of tools or no tools at all. Some just look at the monitor and call it.

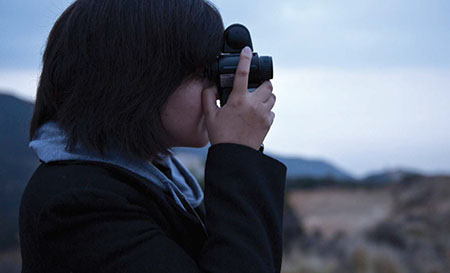
The author takes a spot reading of the sunrise for a 35mm movie.
However, I am a big believer in making choices and doing things for a reason as I am painting the frame with light. Metering light is not just a way to make sure the camera can see a subject, it also allows you to purposefully set ratios.
For example, if you want your backlight to be two stops over, understanding the latitude of your camera and how it will be perceived, then you can do that quickly and with confidence.
Back when shooting film, the light meter was the only sure way of knowing the image was exposed, however desired. Personally, and for many, it’s still the tool I rely on the most, in addition to false color and my eye.
For this reason, I would like to discuss how a meter is used; why it is such a great tool; and some specific instances where it saved the day on set.

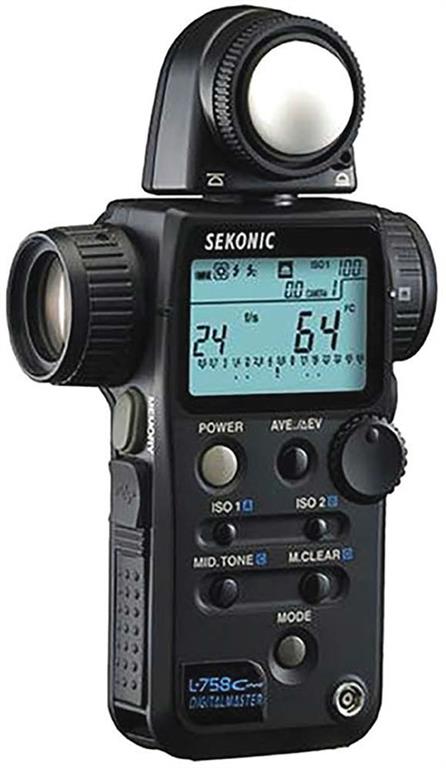
Sekonic L-758C
The professional video industry's #1 source for news, trends and product and tech information. Sign up below.
INCIDENT AND SPOT READINGS
There are many different brands and types of light meters available. One of the most popular is Sekonic. My Sekonic L-758C, now an older model, allows me to get both incident readings and spot readings. An incident reading measures the amount of light falling on a subject, while a spot reading measures how much light is being reflected off of something. Both are important, because, just as sound waves do, light is both absorbed and bounced around by objects filling a space.
Because meters cannot see a subject, they are calibrated to assume that a subject is of 18 percent reflectance or 18 percent gray. Meters are a tool to determine illuminance, so without having to know the color of a subject, meters will read darker shades of gray as darker or more underexposed and lighter shades as brighter.
To get any light reading, the first thing that must be done is to set camera settings in your meter. The first decision you make is how you want to treat your film stock or sensor in terms of sensitivity to light. Whether you go with the native ISO or you rate it as something else, you must tell the meter this information. A meter must also know what framerate and shutter speed you are shooting at. These camera settings all affect exposure. You should also have chosen an ƒ/stop on your lens to shoot your scene.
CHOOSING YOUR CAMERA SETTINGS
As I always say, in this age of button pushers, you should be choosing your camera settings based on what you want to achieve visually rather than changing settings because the image is too dark or too bright. By just bumping up the ISO or speeding up your shutter, for example, you are messing with a lot of different things. When you take a reading with your light meter, your meter will tell you what ƒ/stop is needed to properly expose your subject. If something reads too bright or too dark, it tends to be best to use your lighting tools to brighten or darken something in the frame to get it to where you want it in intensity.

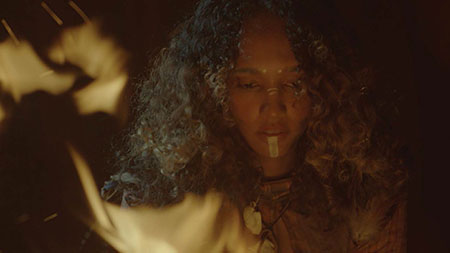
Night scene from “ARRI: Visions”
It is important to remember that the meter is just a suggestion. When your meter gives you an ƒ/4, it does not mean you have to march over to your lens and change the aperture to ƒ/4. Every shot will contain a plethora of readings from the various shadows, highlights, sources, etc., within the frame. It is the cinematographer’s job to figure out what each object in the frame should read, based on what he or she wants the camera and lens set to.
Depending on the camera’s latitude, objects that read many stops over and under may still be seen in detail. I just came off a commercial for ARRI, which was shot completely in remote locations. In one scene, the main source was a fire at night. It was important for me to take spot readings of the fire, incident readings of the actress’ face from the firelight, as well as read into the shadows around her to see if I still had detail. I wanted to make sure we exposed the actress properly while still maintaining detail in the bright highlights of the flames.
We did a lot of scenes during the day, too. Spot readings are key for bright sources in the frame such as fire, the sky and units such as flashlights.
There isn’t one ideal tool for the job, or the same ideal tool for everyone. However, I find that a light meter has been key in allowing me to make exposure decisions, shoot film confidently, and really know how I can push things in color during post. It also serves as a great way to communicate with my gaffer who is also metering throughout the day, so that together we are on the same page with how exposure through the frame looks.
Light meters have always been, and will remain, a simple, effective way of reading light.
Julia Swain is a cinematographer based in California, whose narrative films include “Killing Animals,” “Jilted” and “Cassidy Red.” She continues to shoot on a variety of formats, seeking to create compelling visuals for every story and brand. She can be contacted through TV Technology.
