Review: JVC GY-HC550U CONNECTED CAM Camera
This is the future of video in the high school/college arena

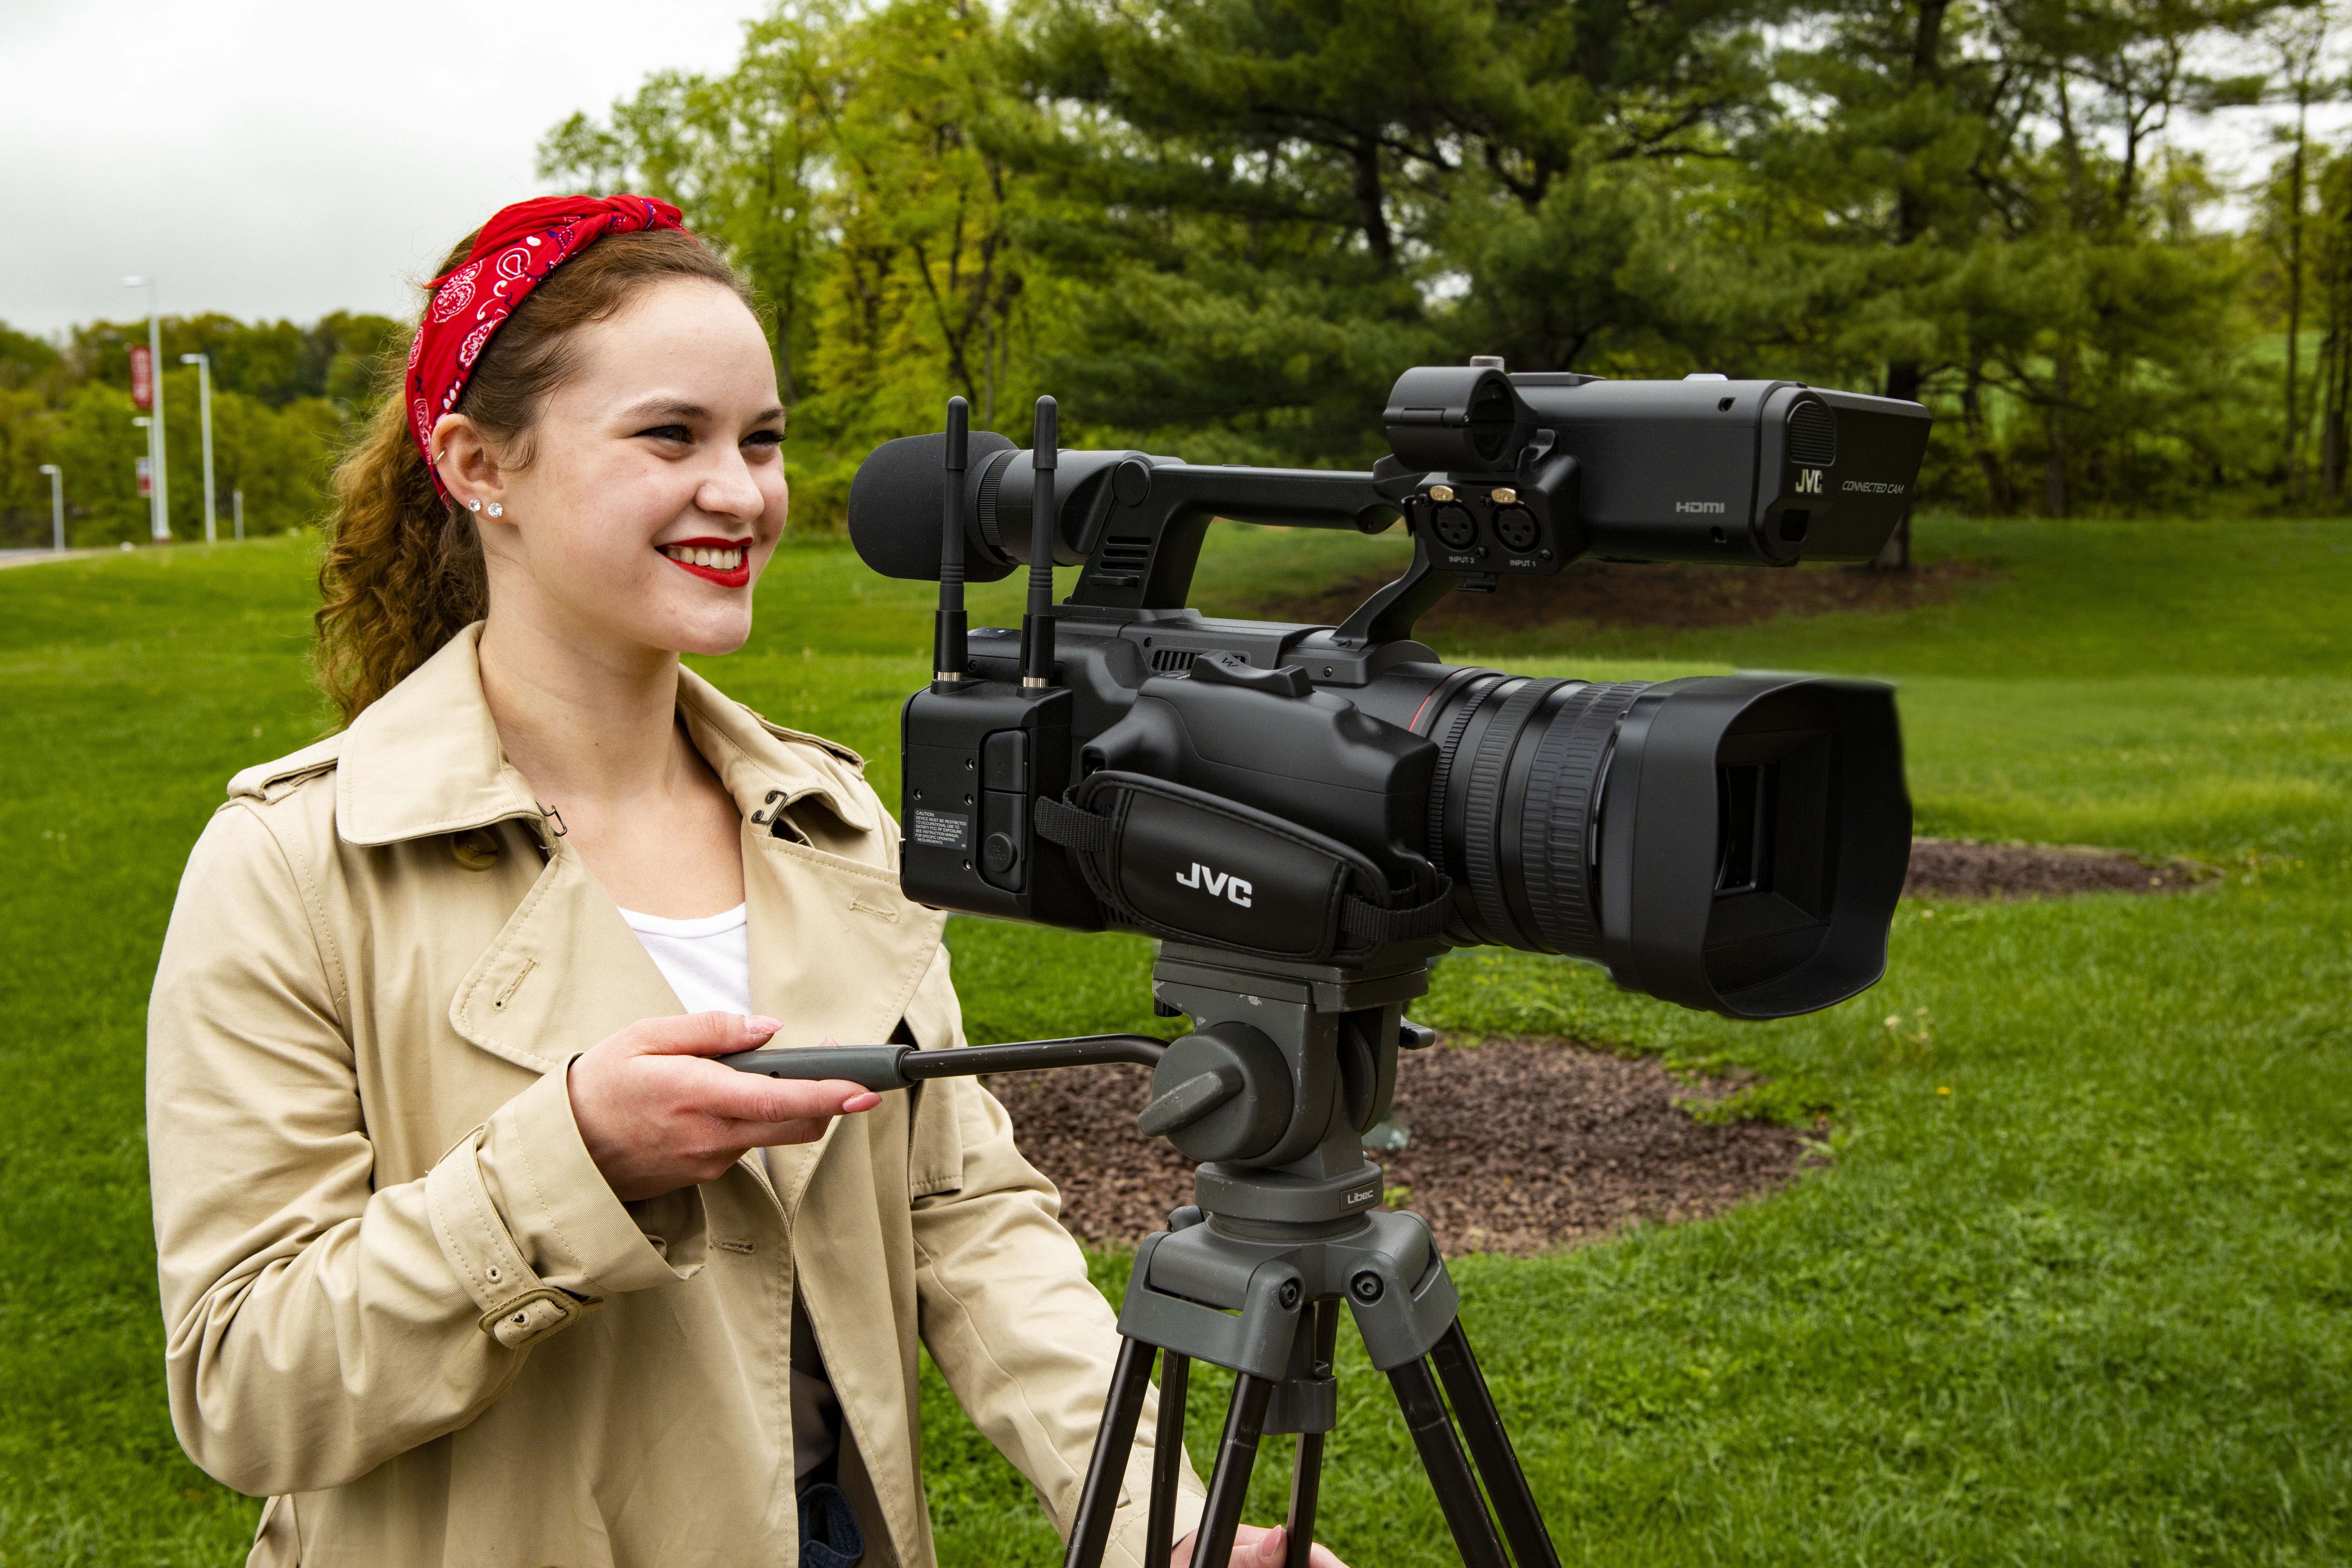
With JVC’s GY-HC550U camera, not only can you shoot stunning video in a multitude of formats and frame rates, you now have the ability to live stream your high definition anywhere. And with the simple push of a button you can watch your feed remotely.
The GY-HC550U also does everything you want a camera to do—shoot in UHD 4K and record ProRes files onto an optional internal SSD drive; plus it now streams through a built-in Wireless LAN transmitter and SRT Wireless Protocol.
Features
Let’s start with the camcorder side of the JVC GY-HC550U which features a one-inch 9.35 Megapixel CMOS sensor directly behind a built-in, mechanical three ND filter F/2.8 9 to 189mm 20x zoom lens (40x lossless zoom when shooting in HD and using Dynamic Zoom). Viewable through a LCOS technology 1.2 million-dot electronic viewfinder or a four-inch-high resolution LCOS Quad VGA LCD monitor, you can record in 4K ultra high definition, 1080i or 1080p, 720p, or standard definition as a proxy as well as HDR in 10-bit JLog1 or HLG.
Capturing video options include:
3840 x 2160p 4:2:2 10-bit ProRes 422HQ, 422, and 422LT;
H.264 4:2:2 10-bit and 4:2:0 8-bit at 3820 x 2160p;
H.264 4:2:2 10-bit and 4:2:0 8-bit in 1920 x 1080p and 1280 x 720p respectively, and
The professional video industry's #1 source for news, trends and product and tech information. Sign up below.
MPEG-2 in 1920 x 1080p, 1440 x 1080p, and 1280 x 720p
Frame rates may be 60p/50p/30p/25p/ and 24p.
| Row 0 - Cell 0 | Row 0 - Cell 1 | Row 0 - Cell 2 |
| Row 1 - Cell 0 | Row 1 - Cell 1 | Row 1 - Cell 2 |
| Row 2 - Cell 0 | Row 2 - Cell 1 | Row 2 - Cell 2 |
If your workflow includes 1080 60p live broadcasting streaming video up to 20 Mbps from your camera to a remote site using the built in H.264 or optional HEVC encoder and either via WLAN (Wi-Fi) or the LAN terminal, the GY-HC550U is the perfect choice as long as there is internet availability. In the studio or wherever you will be watching the feed, you may use a switcher (Tricaster, vMix, Roland) or a BR-DE900 decoder.
The future of video as I see it is streaming technology. Cellphones have this availability, but the quality is not up to broadcast standards. With JVC, that broadcast standard has been achieved and you can stream your footage to any location.
The GY-HC550U also features IFB and return video over IP and allows your files to be transferred automatically using auto FTP.
In Use
As soon as my loaner JVC arrived, I had the perfect use for it. Our university’s baseball team was having their last home game of the season and my production class wanted to stream the event from our home stadium to the switcher in our TV studio as part of a live news feed.

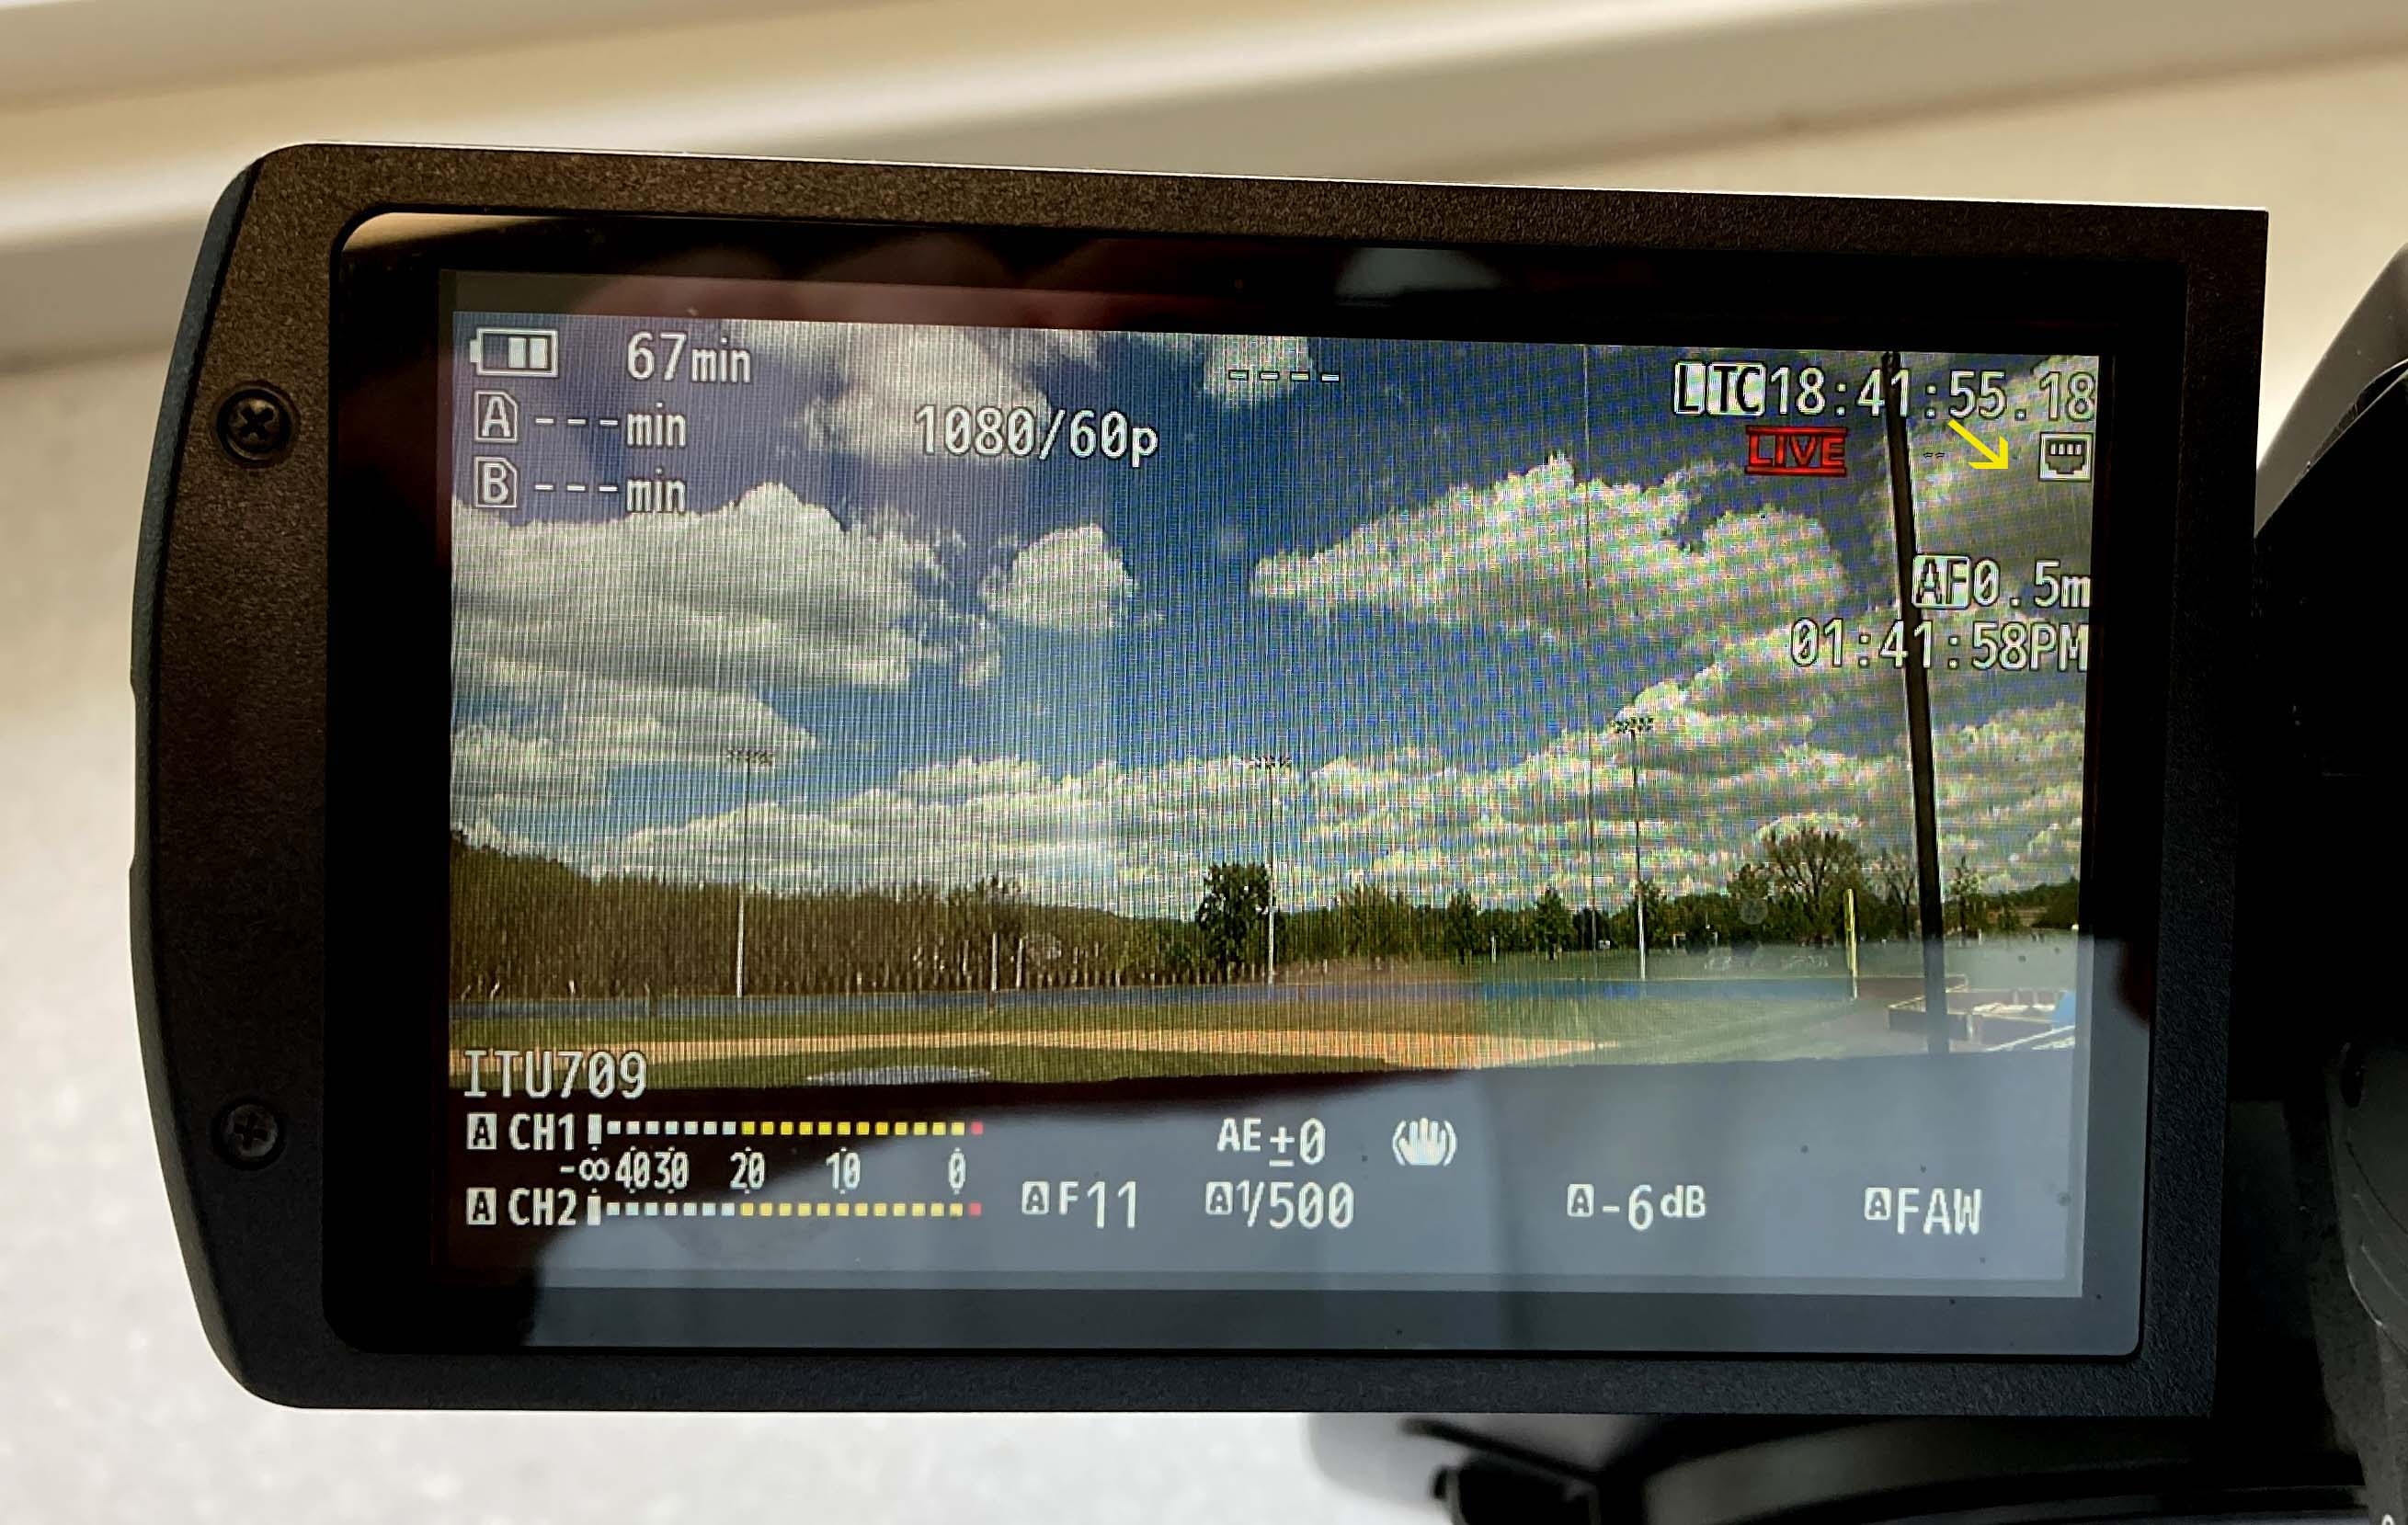
Turning the camera on, the green “Network” and “Status” LEDs flashed as it powered up. Setting the camera to stream couldn’t be more user friendly: Press the Menu button, scroll to Network, then Connection Set-up, then Wizard. Using the internal wireless LAN, which resides on the right side of the camera as seen from the viewfinder, we wanted the two antennas to allow us to tap into our university’s Wi-Fi network—that’s where we encountered our first minor snafu.
Our school’s Wi-Fi has a great firewall (as it should) that didn’t recognize the camera as a friendly source. At my home, where I was instantly able to connect to my Wi-Fi, a white icon appears in the viewfinder signifying connectivity. I could then see the streaming footage live on JVC’s portal. Any university is only as strong as its IT department and Dan was instrumental in helping me solve our connectivity issue.
Dan and I travelled to our baseball field on the other side of campus. Accessing the press box, Dan connected the JVC to our university’s LAN with an Ethernet cable. Seeing the connection icon on the viewfinder meant that the camera was able to stream.

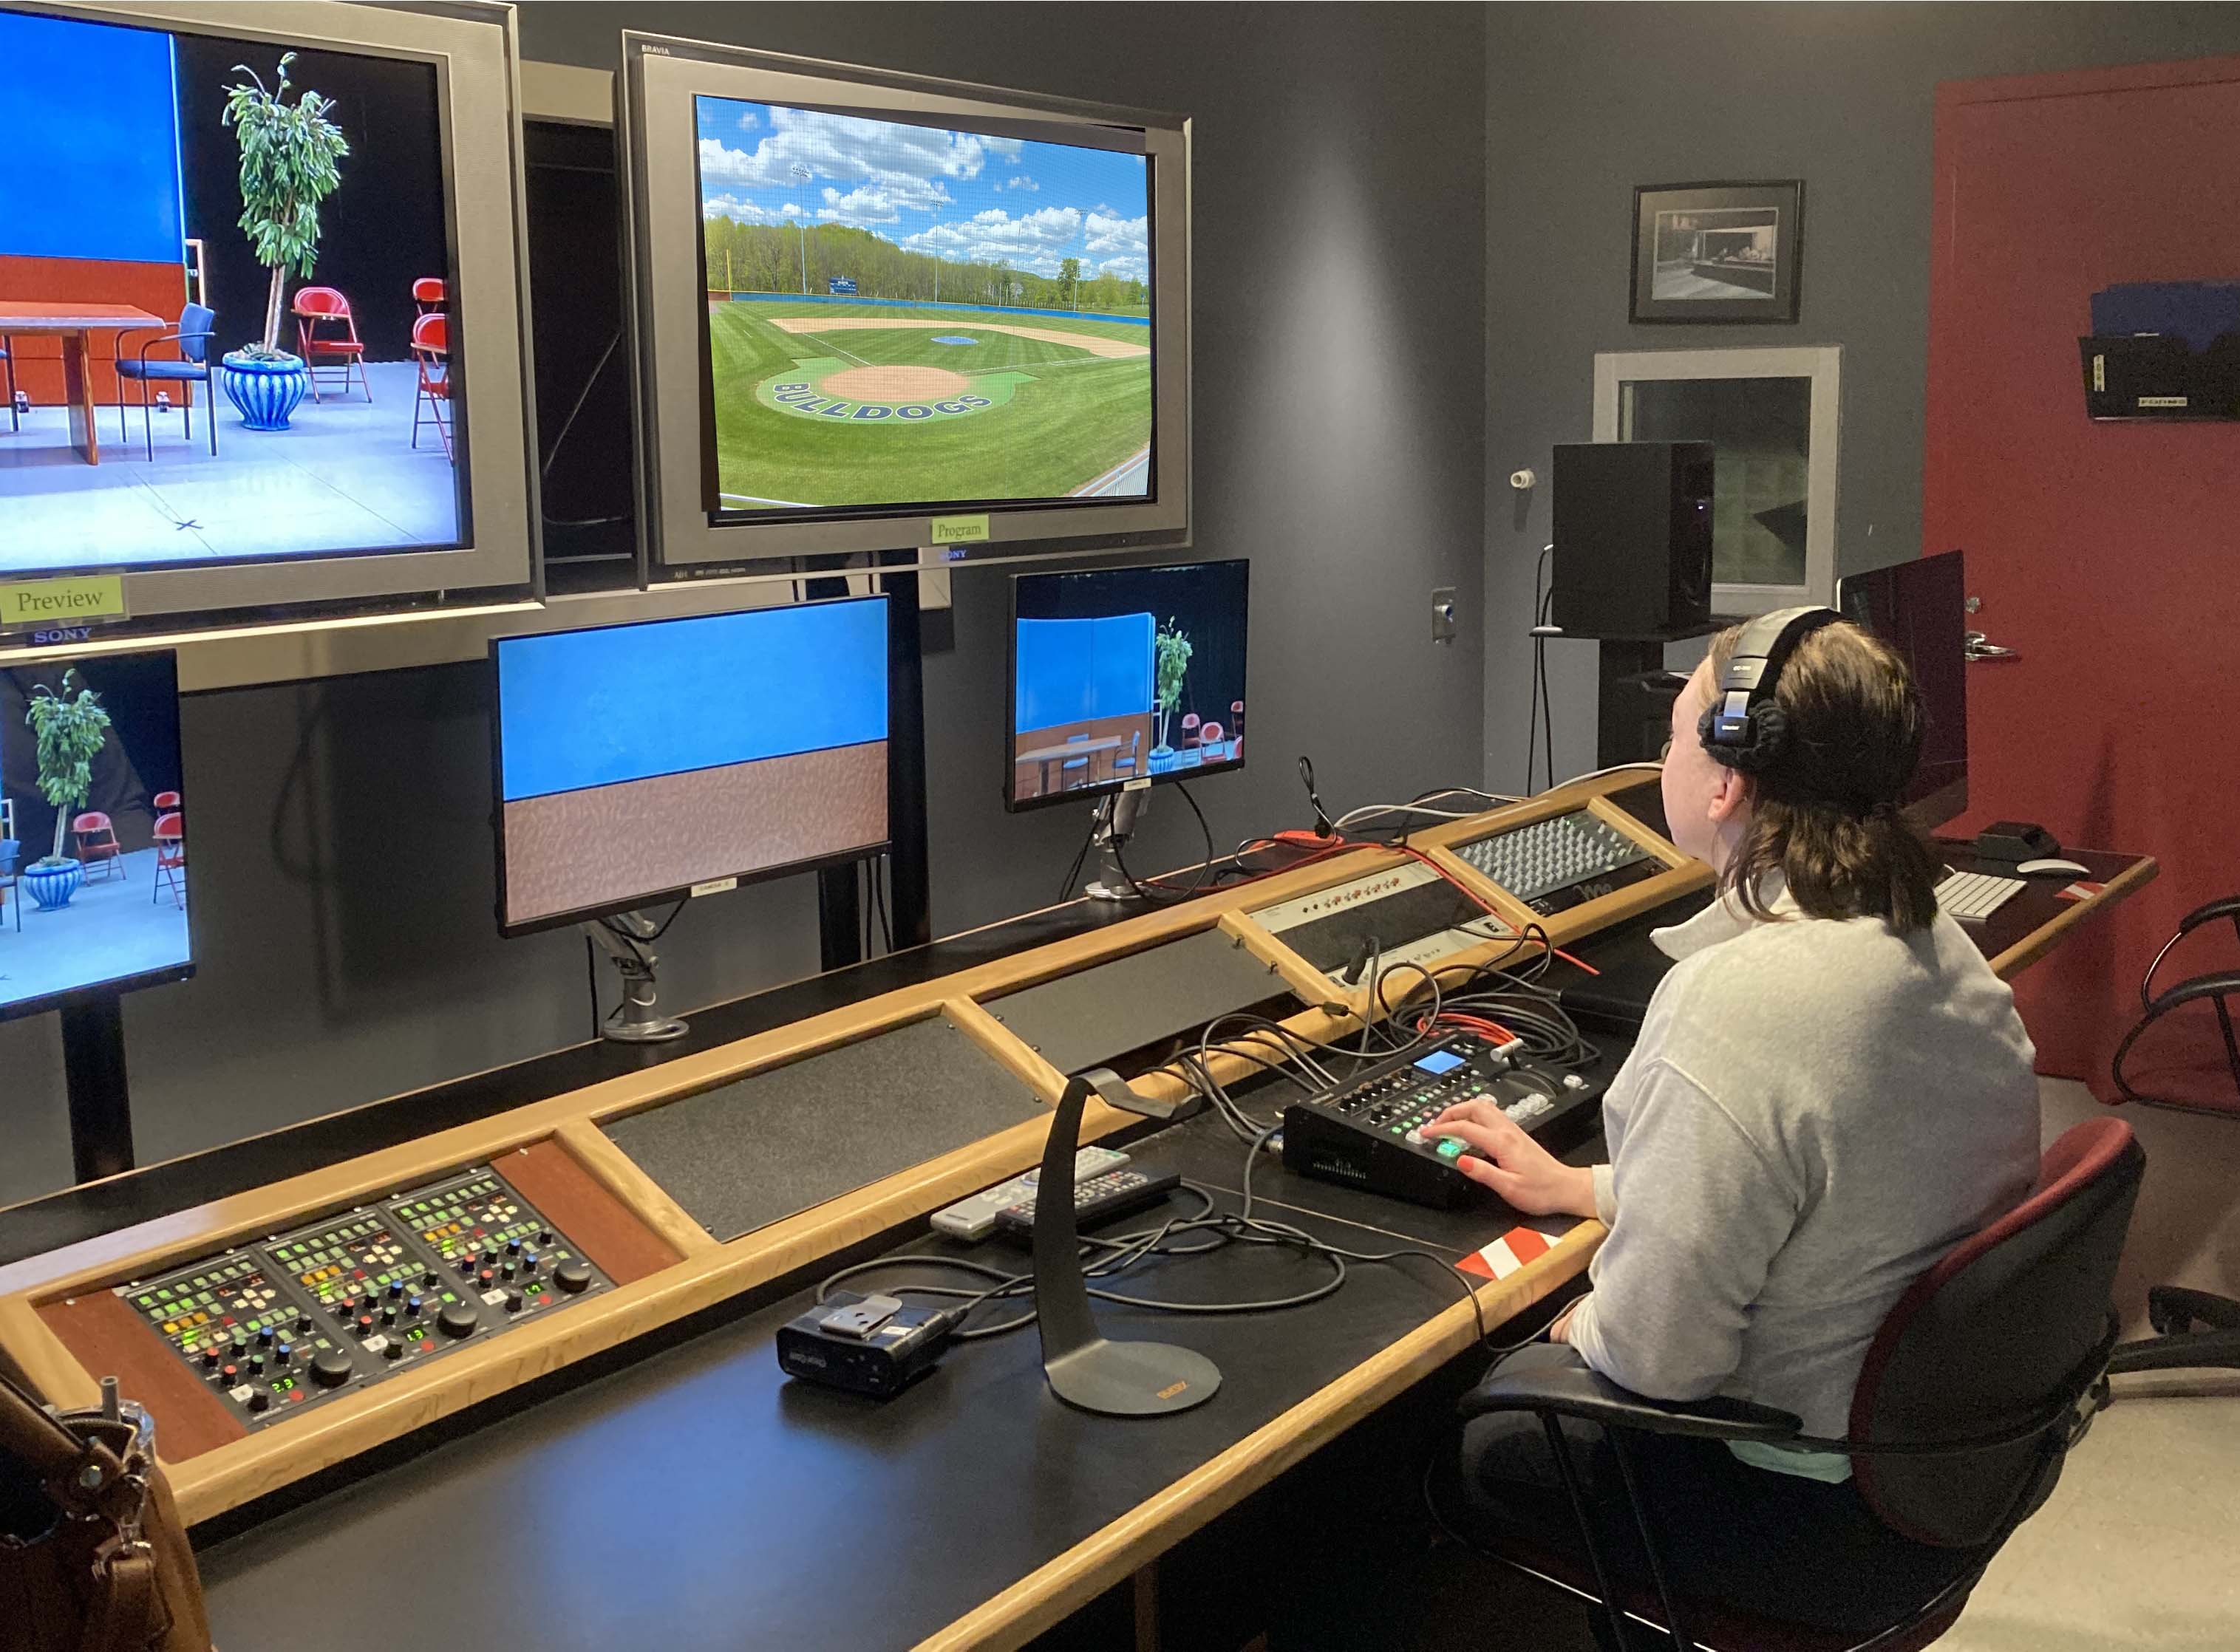
The last step was getting our Roland switcher to receive the streaming signal. Using JVC’s BR-DE900 decoder, we connected an Ethernet cable to the decoder and an SDI cable to input four of our Roland switcher. Inputs one, two, and three were each connected to cameras in our studio.
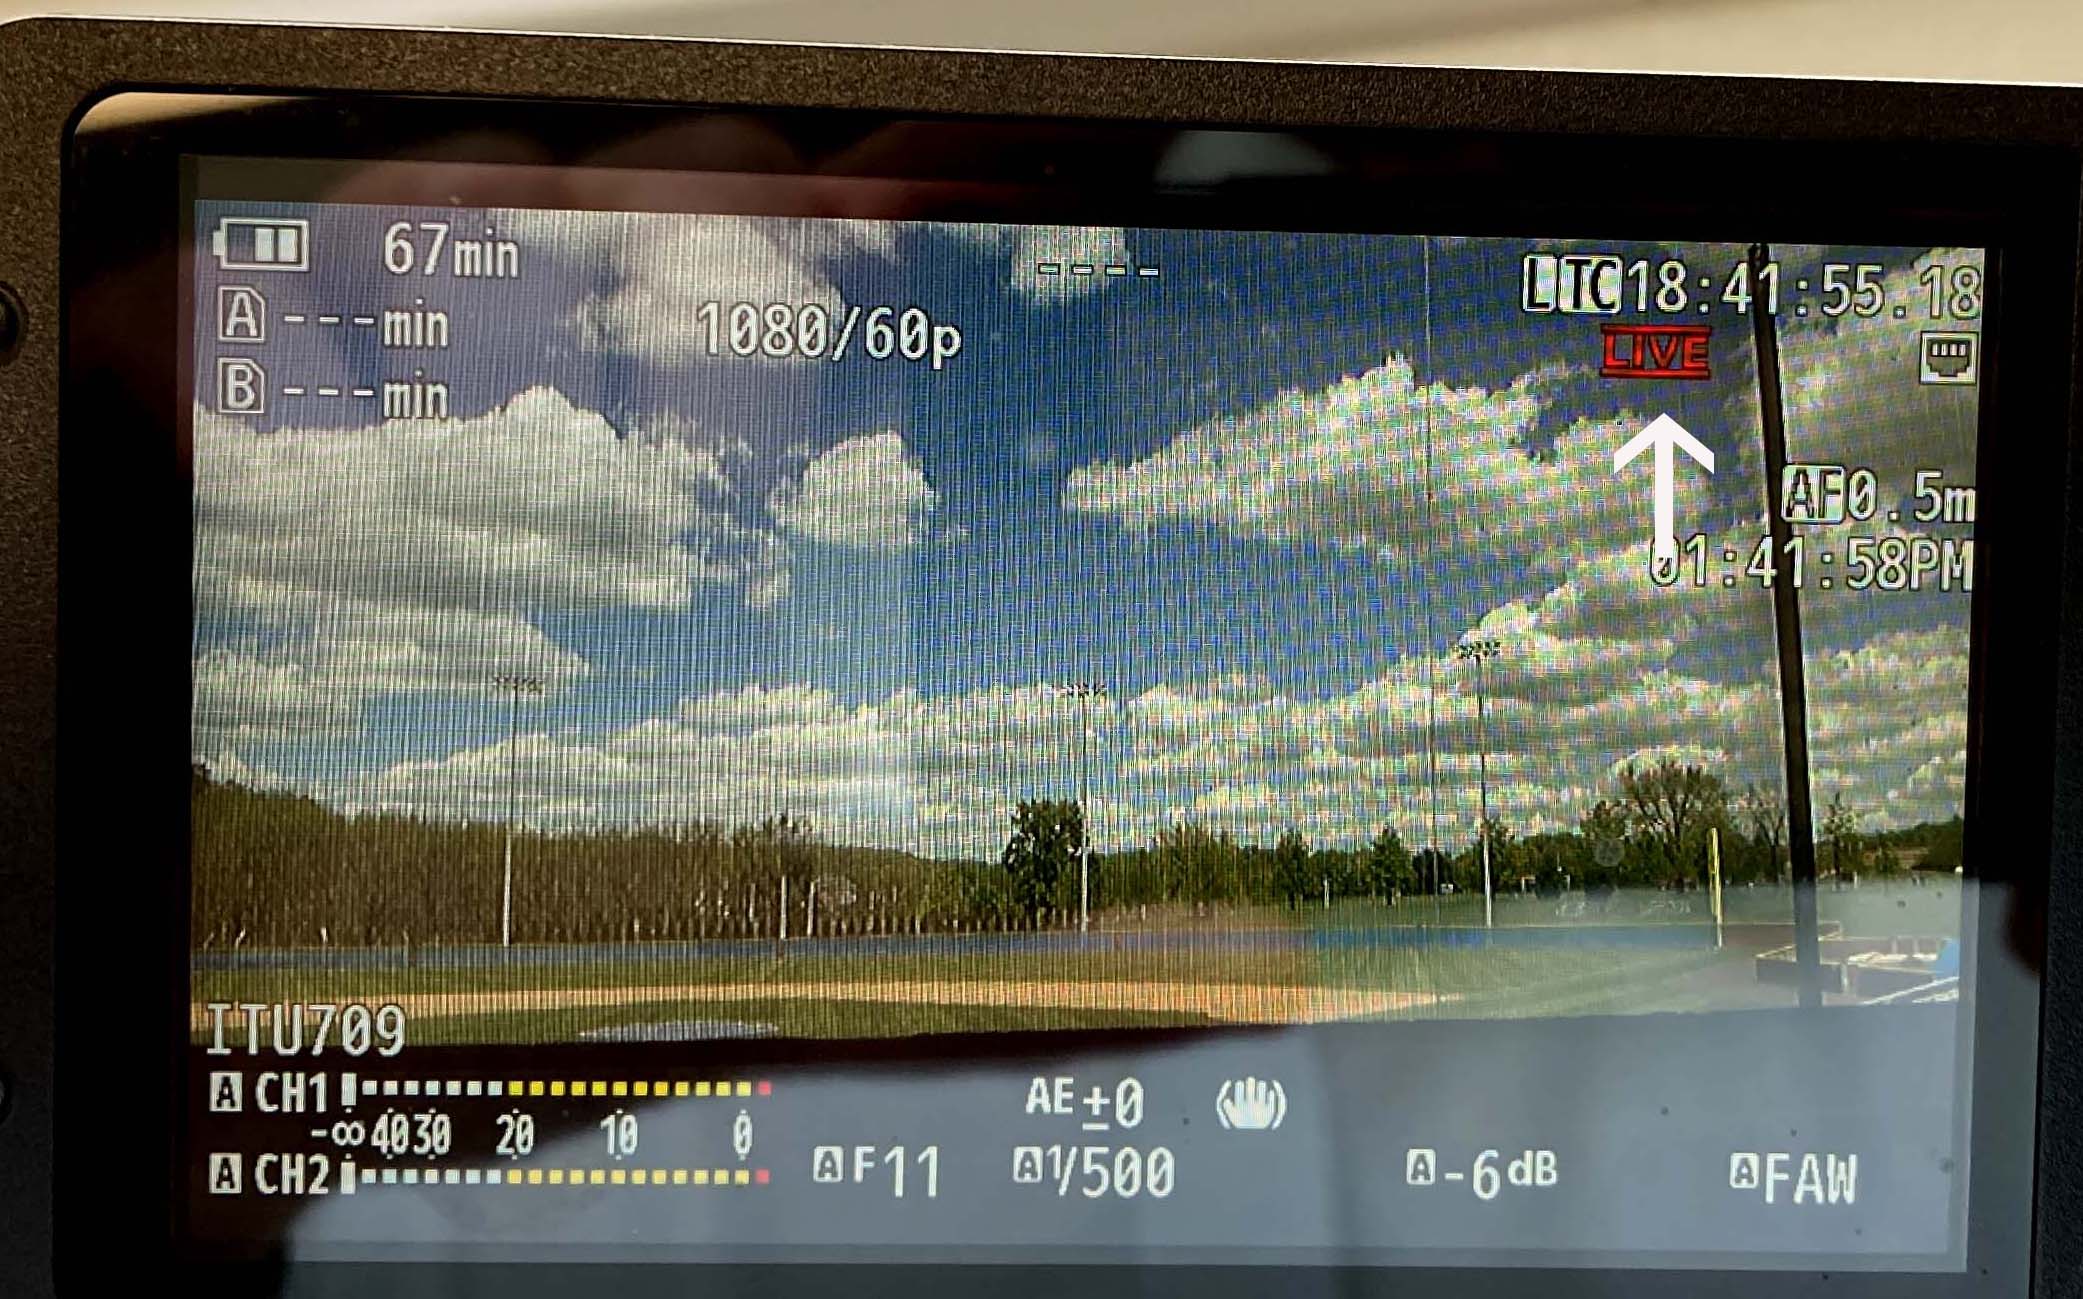
Once connected to our LAN, the next step was to travel to the location to begin the event the following day. With the JVC set-up from outside the press box, we checked the LCD screen for the icon in the upper right signifying we had a clean signal. The “Online/3” User button was pressed, and a LIVE symbol appeared in red.

Using her cellphone, the director/camera operator contacted our technical director (TD) in the control room of our studio to verify that she was receiving the signal.

Over the cellphone, I could hear cheering as our crew was amazed that they were actually seeing a live stream for the first time! As the on-camera talent read the news, at the correct time, the TD switched to input 4 and our championship baseball team made their live streaming debut on DeSales TV.
As an extremely important side note, the tech support at JVC is incredible. Not only do they know their equipment intimately, but their response time was less than 20 minutes. Needing a JVC BR-DE900 decoder in our control room to convert the streaming video to an SDI input on our Roland Switcher, Dwayne from JVC soon arrivd with the decoder.
Another huge thank you goes to Edgar and Craig who were instrumental in helping me with the technology. It’s great knowing that the same people I worked with for years are still with JVC. This “history” is rare in the industry as new people often populate the vacancies. One call and I don’t have to re-introduce myself to someone new who isn’t familiar with my problem.
Although the excitement of the live stream never died down, I sent a crew back to the baseball field to get some post-game interviews using the camera’s UHD 4K capabilities. Installing the 1 TB Western Digital SSD into the adapter involved just removing four miniscule screws and inserting it. You must then select 4K EXT (SSD) from the System/Camera menu and then format the card. With 225 minutes available, we had more than enough space.
Reading the SSD drive requires removing it from the camera, inserting a USB-C into the drive’s enclosure and attaching the other USB-C into my MacBook Pro. The computer instantly recognized the external drive, and I downloaded the footage.
This setup is the complete package. Not only can you stream events live, but you have the camera’s hard drive and built-in dual SD card slot capabilities to capture additional footage in UHD, HD, or SD. One camera team can now do it all.
Summary
This is the future of video, at least in the high school/college arena. Schools are looking for the best way to stream sporting and live events to remote locations and the JVC GY-HC550 makes that a reality. If someone of my advanced years can grasp this technology quickly, the filmmakers and broadcasters of tomorrow will have it made. In predicting the future—you’re going to see this technology everywhere. As always, JVC has been the pioneer (remember VHS?).
Application
The JVC GY-HC550U is the logical choice to shoot the footage and then take it to the next step and broadcast (stream) it. Having the live footage recorded to an internal SSD also allows the material to be edited or archived.
Key Features
Wired LAN or wireless streaming, 4K UHD 4:2:2 10-bit ProRes video, great optics, and professional camera features you expect from JVC.
Price
JVC GY-HC550 Camcorder - $4,990 Street Price
JVC BR-DE900 Decoder - $2900 Street Price
JVC KA-EN200G HEVC/H.265 Streaming Encoder - $1250 Street Price
JVC SSD Media Adapter - $475 Street Price
Western Digital 1TB M.2 SSD Drive - $250 Street Price
Chuck Gloman is Associate Professor with the TV/Film Department at DeSales University.

