The Basis of Three Point Lighting, and A Simple Method For Lighting The Unknown
Also, a tribute to lighting pioneer George Spiro Dibie

In my first column for TV Tech, I looked at how modeling shadows allow us to perceive depth on a flat screen. Two working eyes that have overlapping fields of vision provide you with binocular vision for perceiving depth.
But a camera is limited by having only one “eye”, and the display surface is, likewise, flat. But with proper modeling, shadows let us perceive 3D depth in an otherwise 2D medium.
Shading Creates the Appearance of Depth and Light Creates Those Shadows
Unfortunately, a lot of today’s video lighting seems concerned with little more than providing the most basic type of illumination; the even wash. Although that wash provides enough light to make an image, it’s dull and looks flat. If you’re interested in creating compelling images that hold your audience, your lighting must accomplish more than just enable an image.
A good place to understanding what’s needed for better quality lighting is to examine one of the fundamental approaches to dimensional lighting: Three Point Lighting.
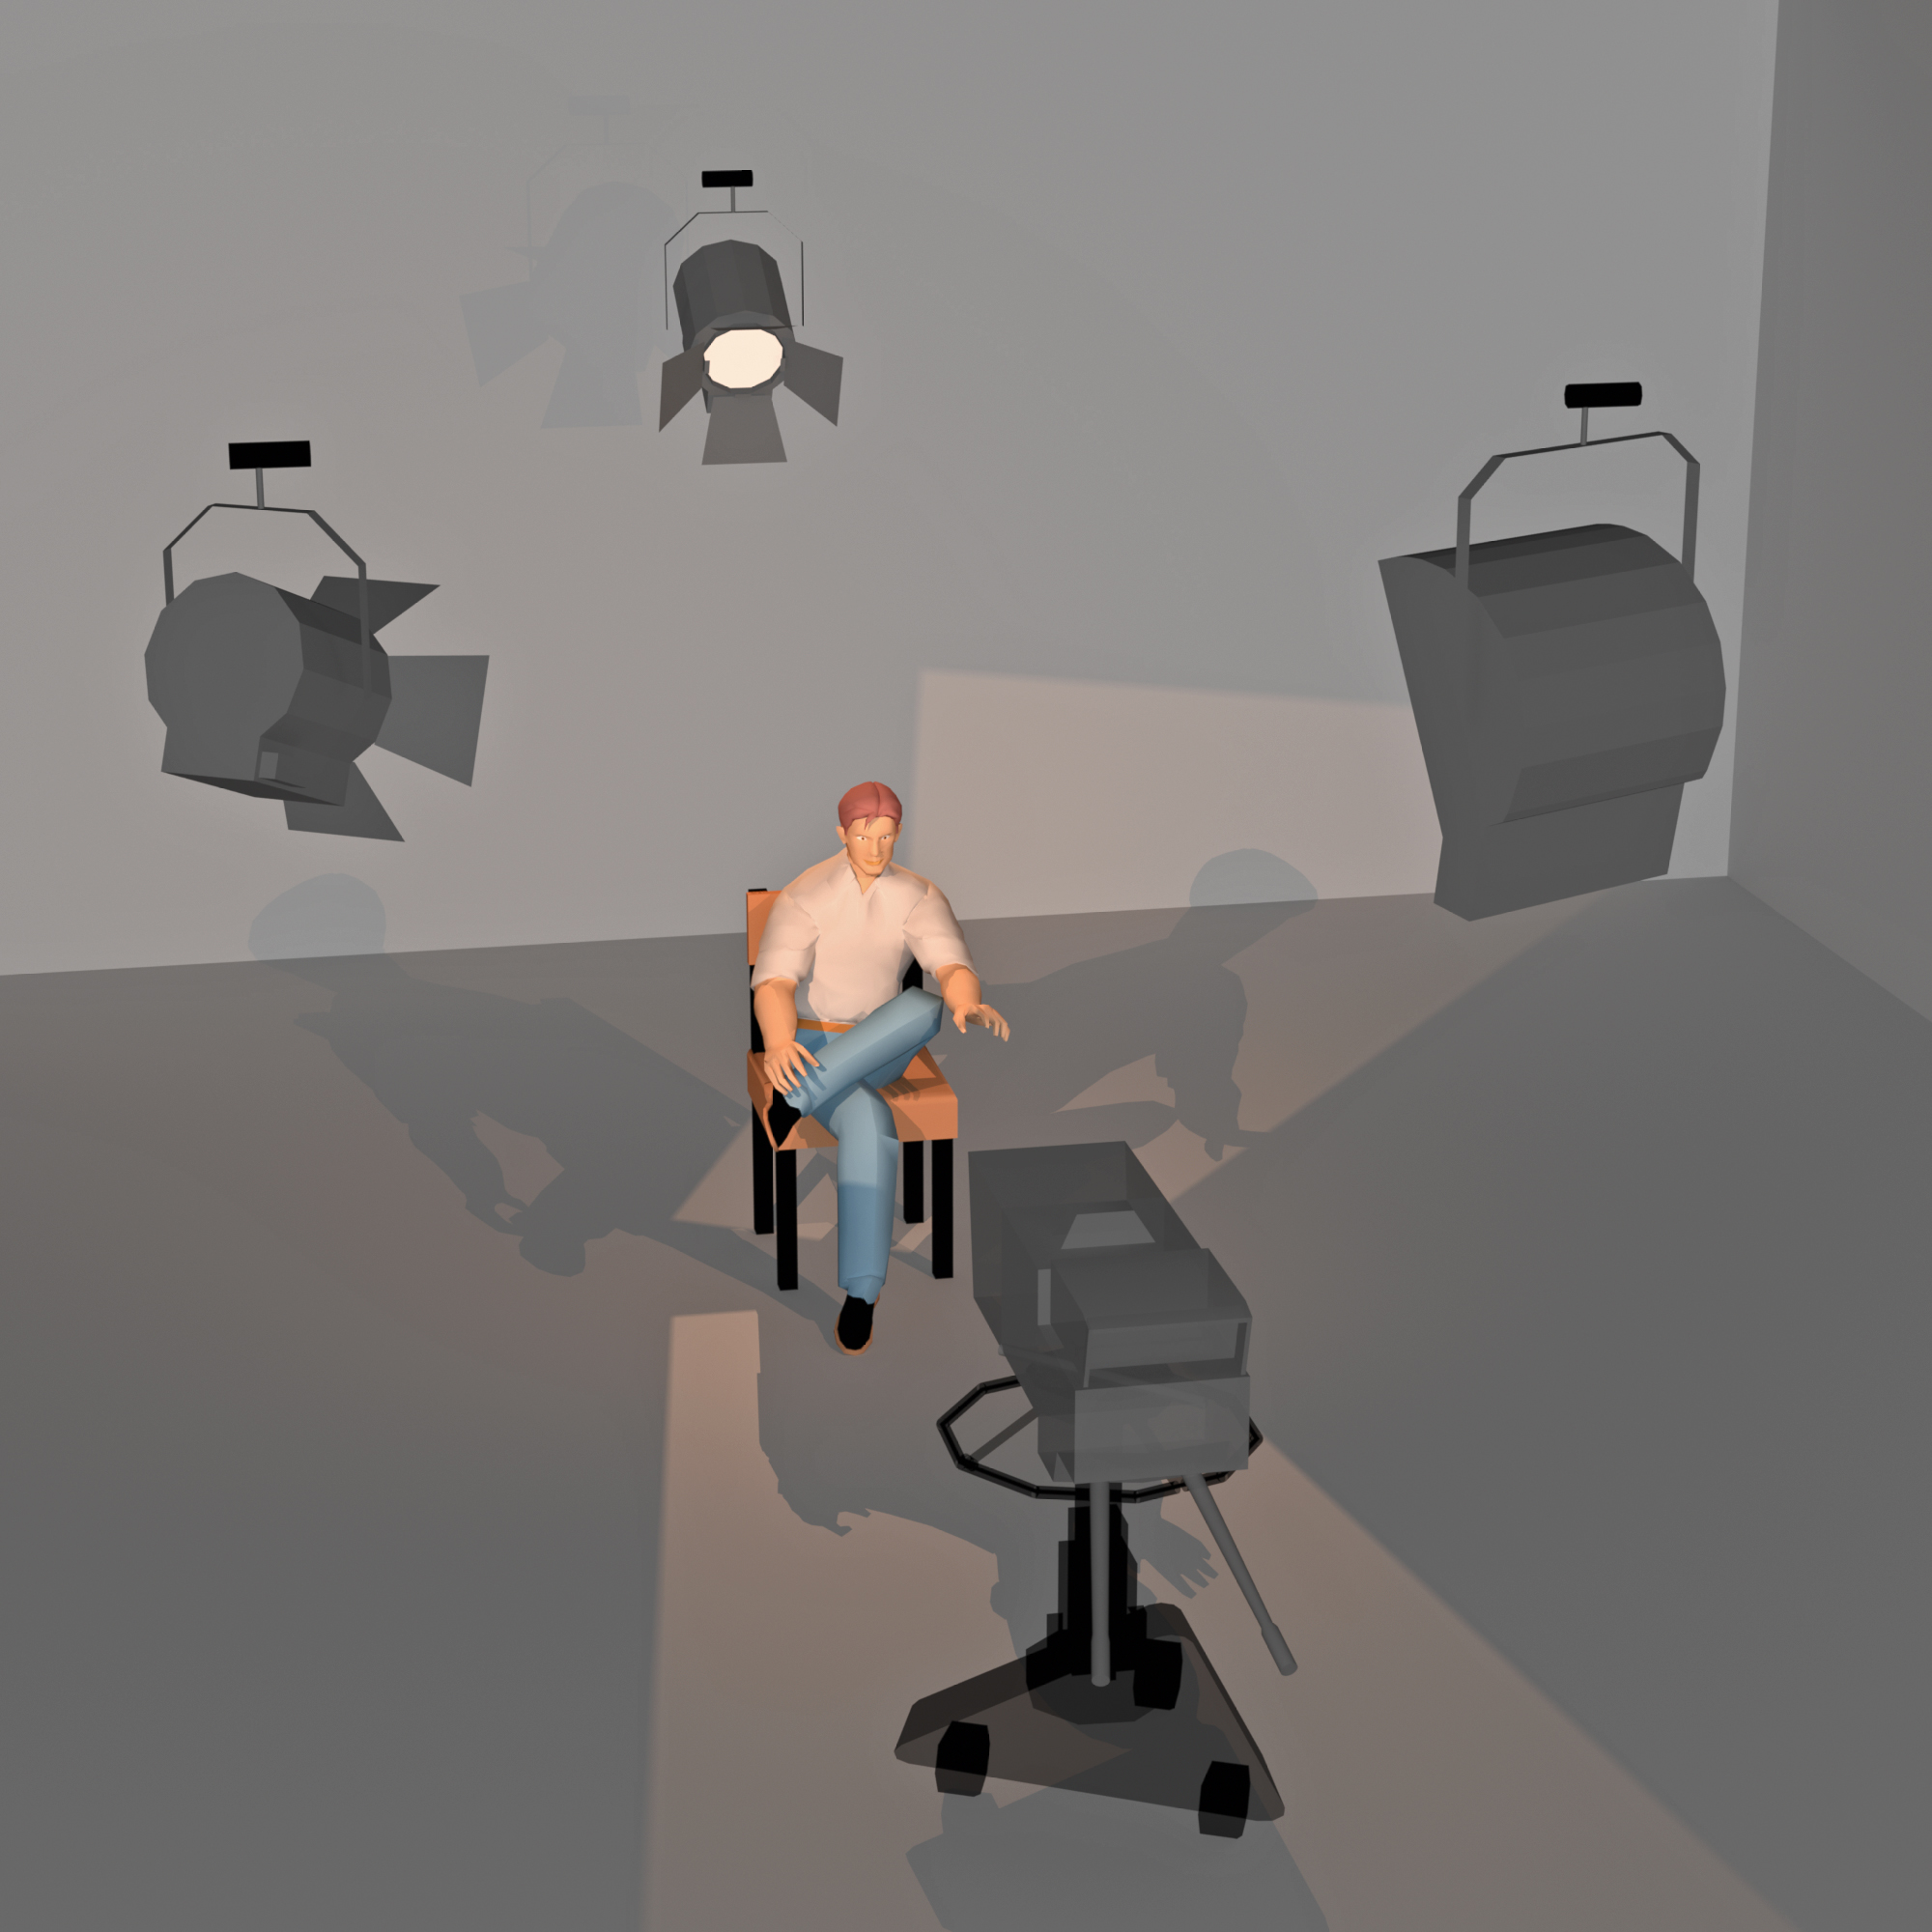
Three Point Lighting is almost mantra-like in its formulaic approach that promises good lighting. The assumption is that you put up a key, a fill, and a back light, and you’re ready to roll. However, there’s a bit more to it than putting up three lights.
For those that dabble casually in lighting, a basic Three Point Lighting scheme can provide good results for a one-person shot. But if you expand your understanding of what’s behind the individual elements, you’ll find that Three Point Lighting can serve you better as a concept to guide your lighting, rather than just a recipe calling for three fixtures in a triangle.
First, Indulge Your Inner Muse
Deciding what a shot should look like is where you get to indulge your inner muse. Like a sculptor, you’ve got to know what the final creation is supposed to look like before you begin chiseling the stone. Otherwise, you’re just going to end up with a pile of rock chips (or a mish-mash of lighting, shadows, and a jumble of equipment).
The professional video industry's #1 source for news, trends and product and tech information. Sign up below.
Good lighting, based on a previsualized ideal, becomes the successful realization of an image made tangible for the camera.
It helps to think of each element of Three Point Lighting as more than simply light fixtures. It’s a tool to visually tell a piece of the story. Here’s how I view the constituent elements of Three Point Lighting:
- The Key Light provides modeling/chiaroscuro, which reveals the shape and form of the subject. (What it reveals, or conceals, defines the nature of the subject, along with how you want the audience to view them.)
- The Fill Light moderates the shadow density and implies the ambient environment & mood. What you see in the shadow areas helps describe and define the surrounding space.
- The Back Light separates the subject from its background with layers of light and dark. This works in conjunction with depth-of-field softening of distant objects to indicate depth.
The use of creative lighting approaches, like Three Point Lighting, weren’t always a part of television. In the early days, the people in charge of lighting were simply trying to make acceptable pictures with primitive equipment.
Flat Lighting is Dull
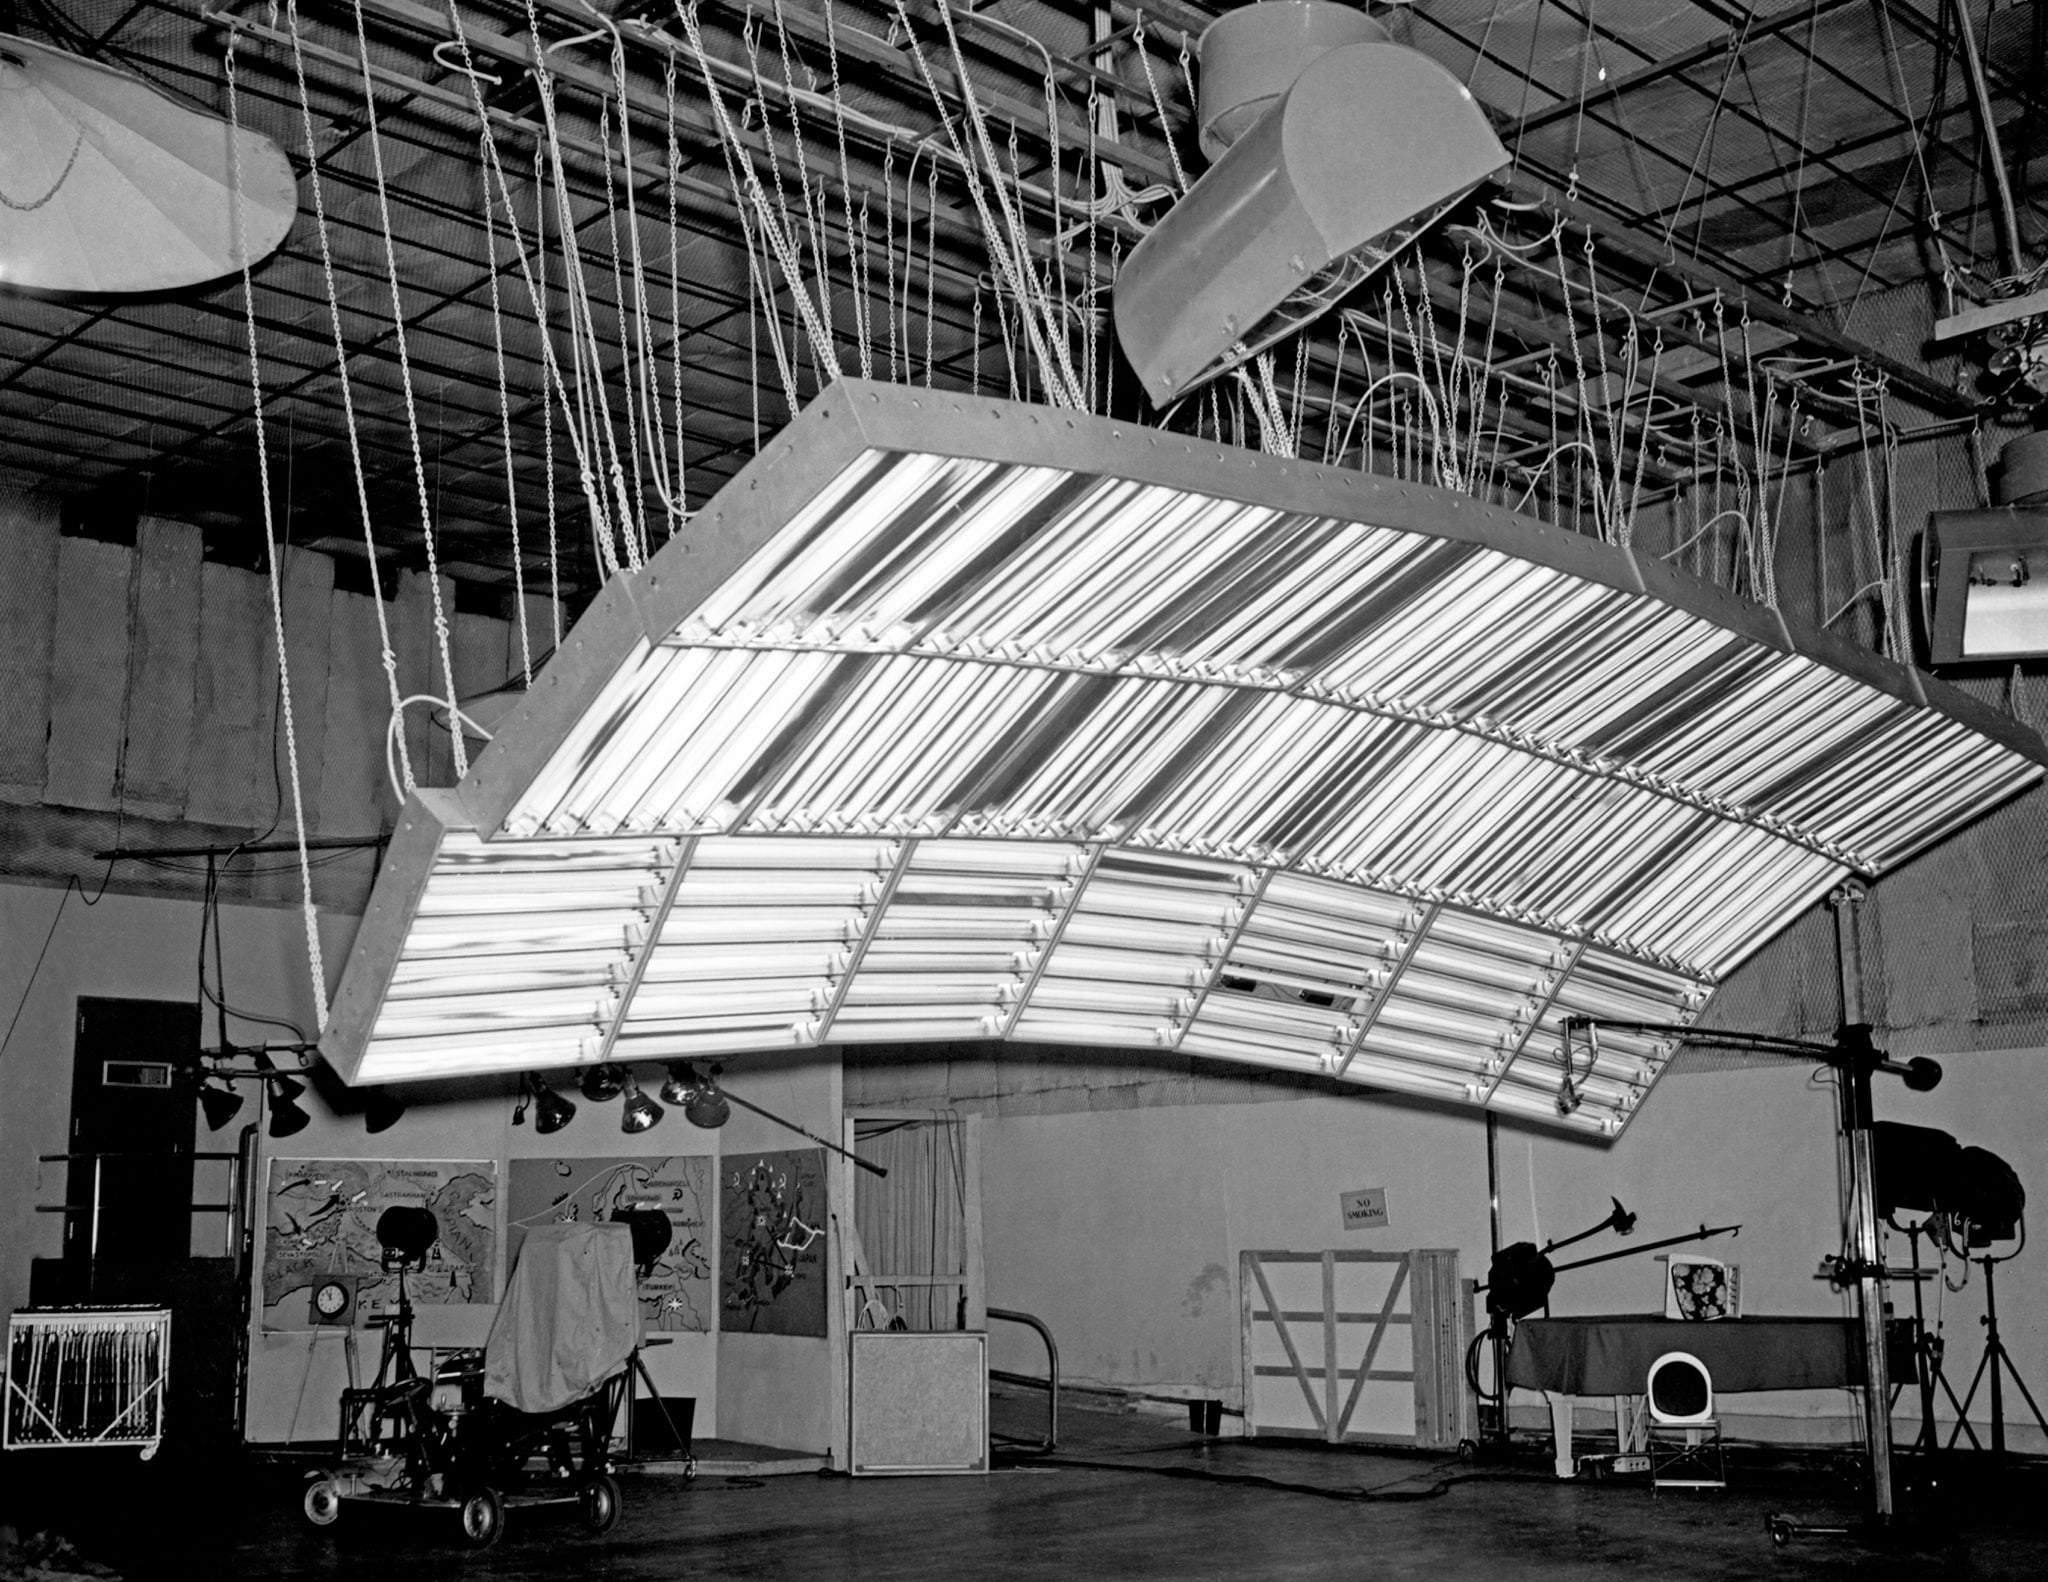
Although film lighting was already a well-advanced art form, early TV lighting simply consisted of high levels of flat light. The light fixtures, and the accompanying heat, resembled automotive paint drying booths.
Better video equipment eventually set the stage for better lighting, but it took the arrival of lighting technicians with film backgrounds to introduced creative lighting to television. These pioneering Lighting Directors introduced creative lighting to television.
Tribute to a Lighting Pioneer – George Spiro Dibie
One such pioneer was George Spiro Dibie, who just passed away in February at age 90. A five-time Emmy winning cinematographer with a long list of honors and achievements, George would light up a room just by walking in. Besides being a great guy, he was also a generous educator. George freely shared his techniques and insight with many students—myself included.
In honor of him, I’d like to share one of his practical lighting approaches. With a smile and wink, George dubbed it "The Dibie Four Square."
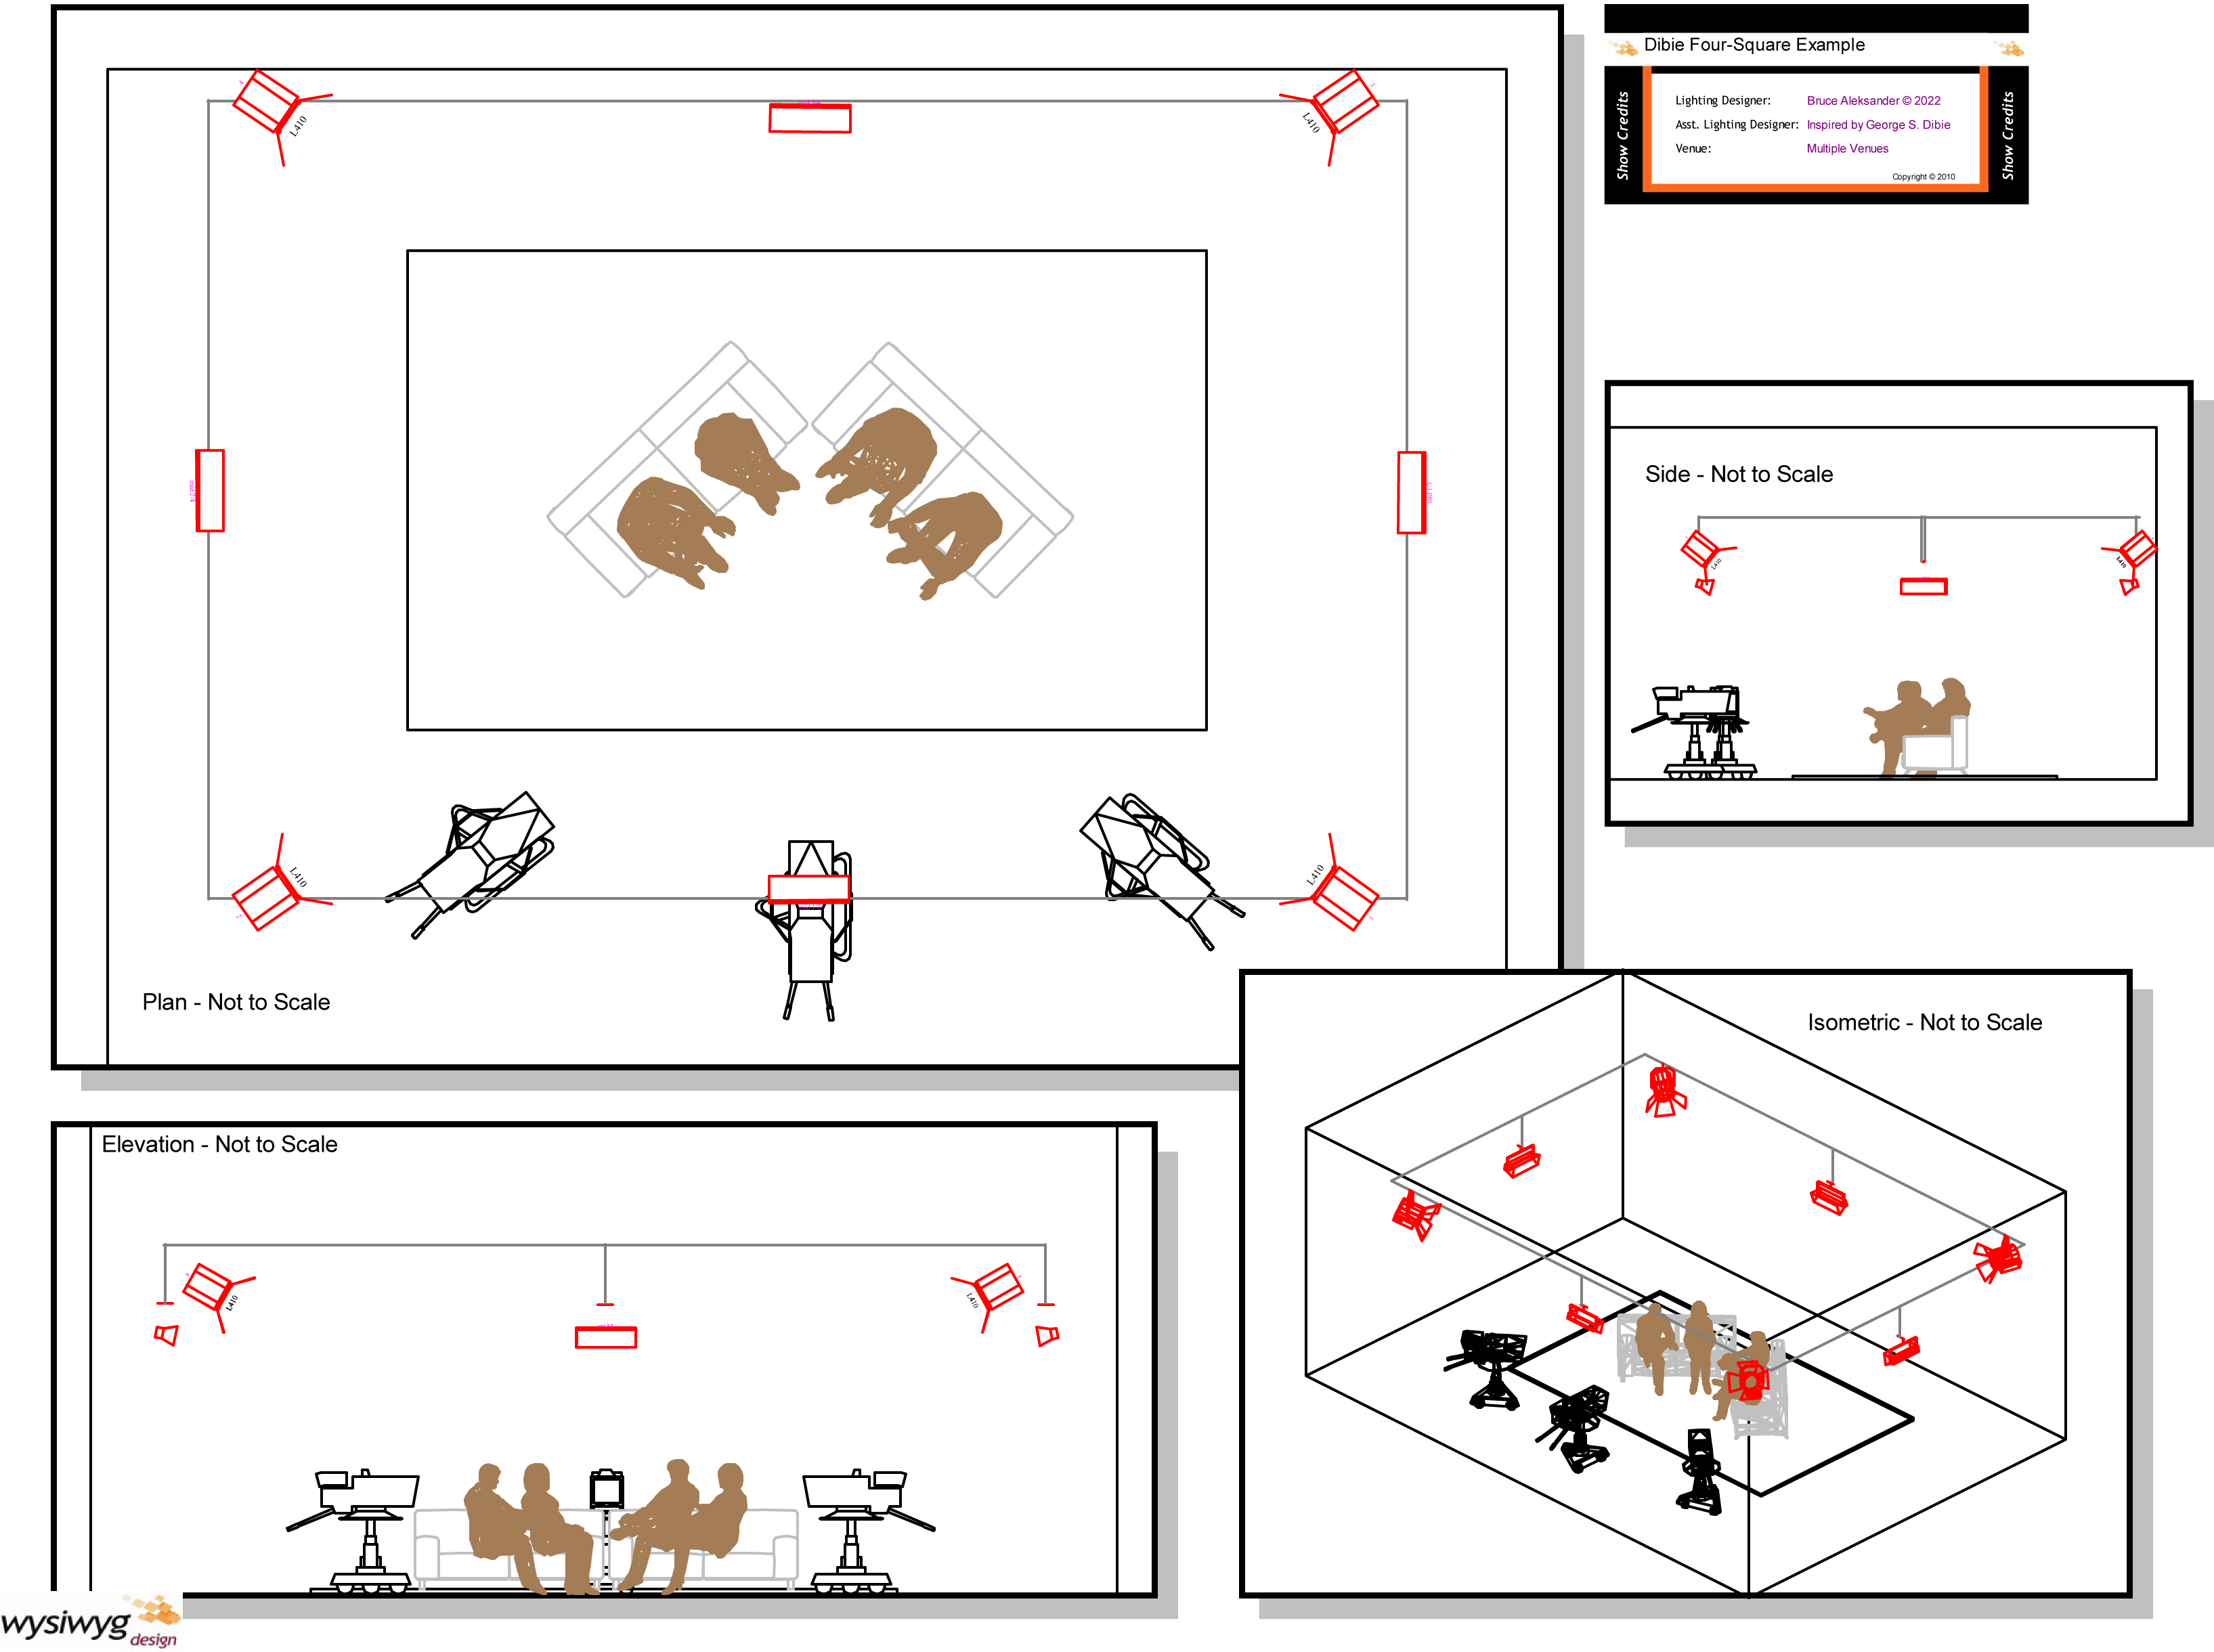
The Dibie Four Square is an easy method to light a general-purpose area for a multi-camera shoot. For those of you who are responsible for hands-on studio lighting, I think you’ll appreciate this generalized lighting plan.
When faced with the unknown studio event, this is an excellent lighting layout to use. It’s perfectly suited to nothing specific, but generally usable for nearly anything. Darwin would appreciate it. (Non-lighting tech folks, who may not need the granularity of specific instructions for installation, can skip to the end.)
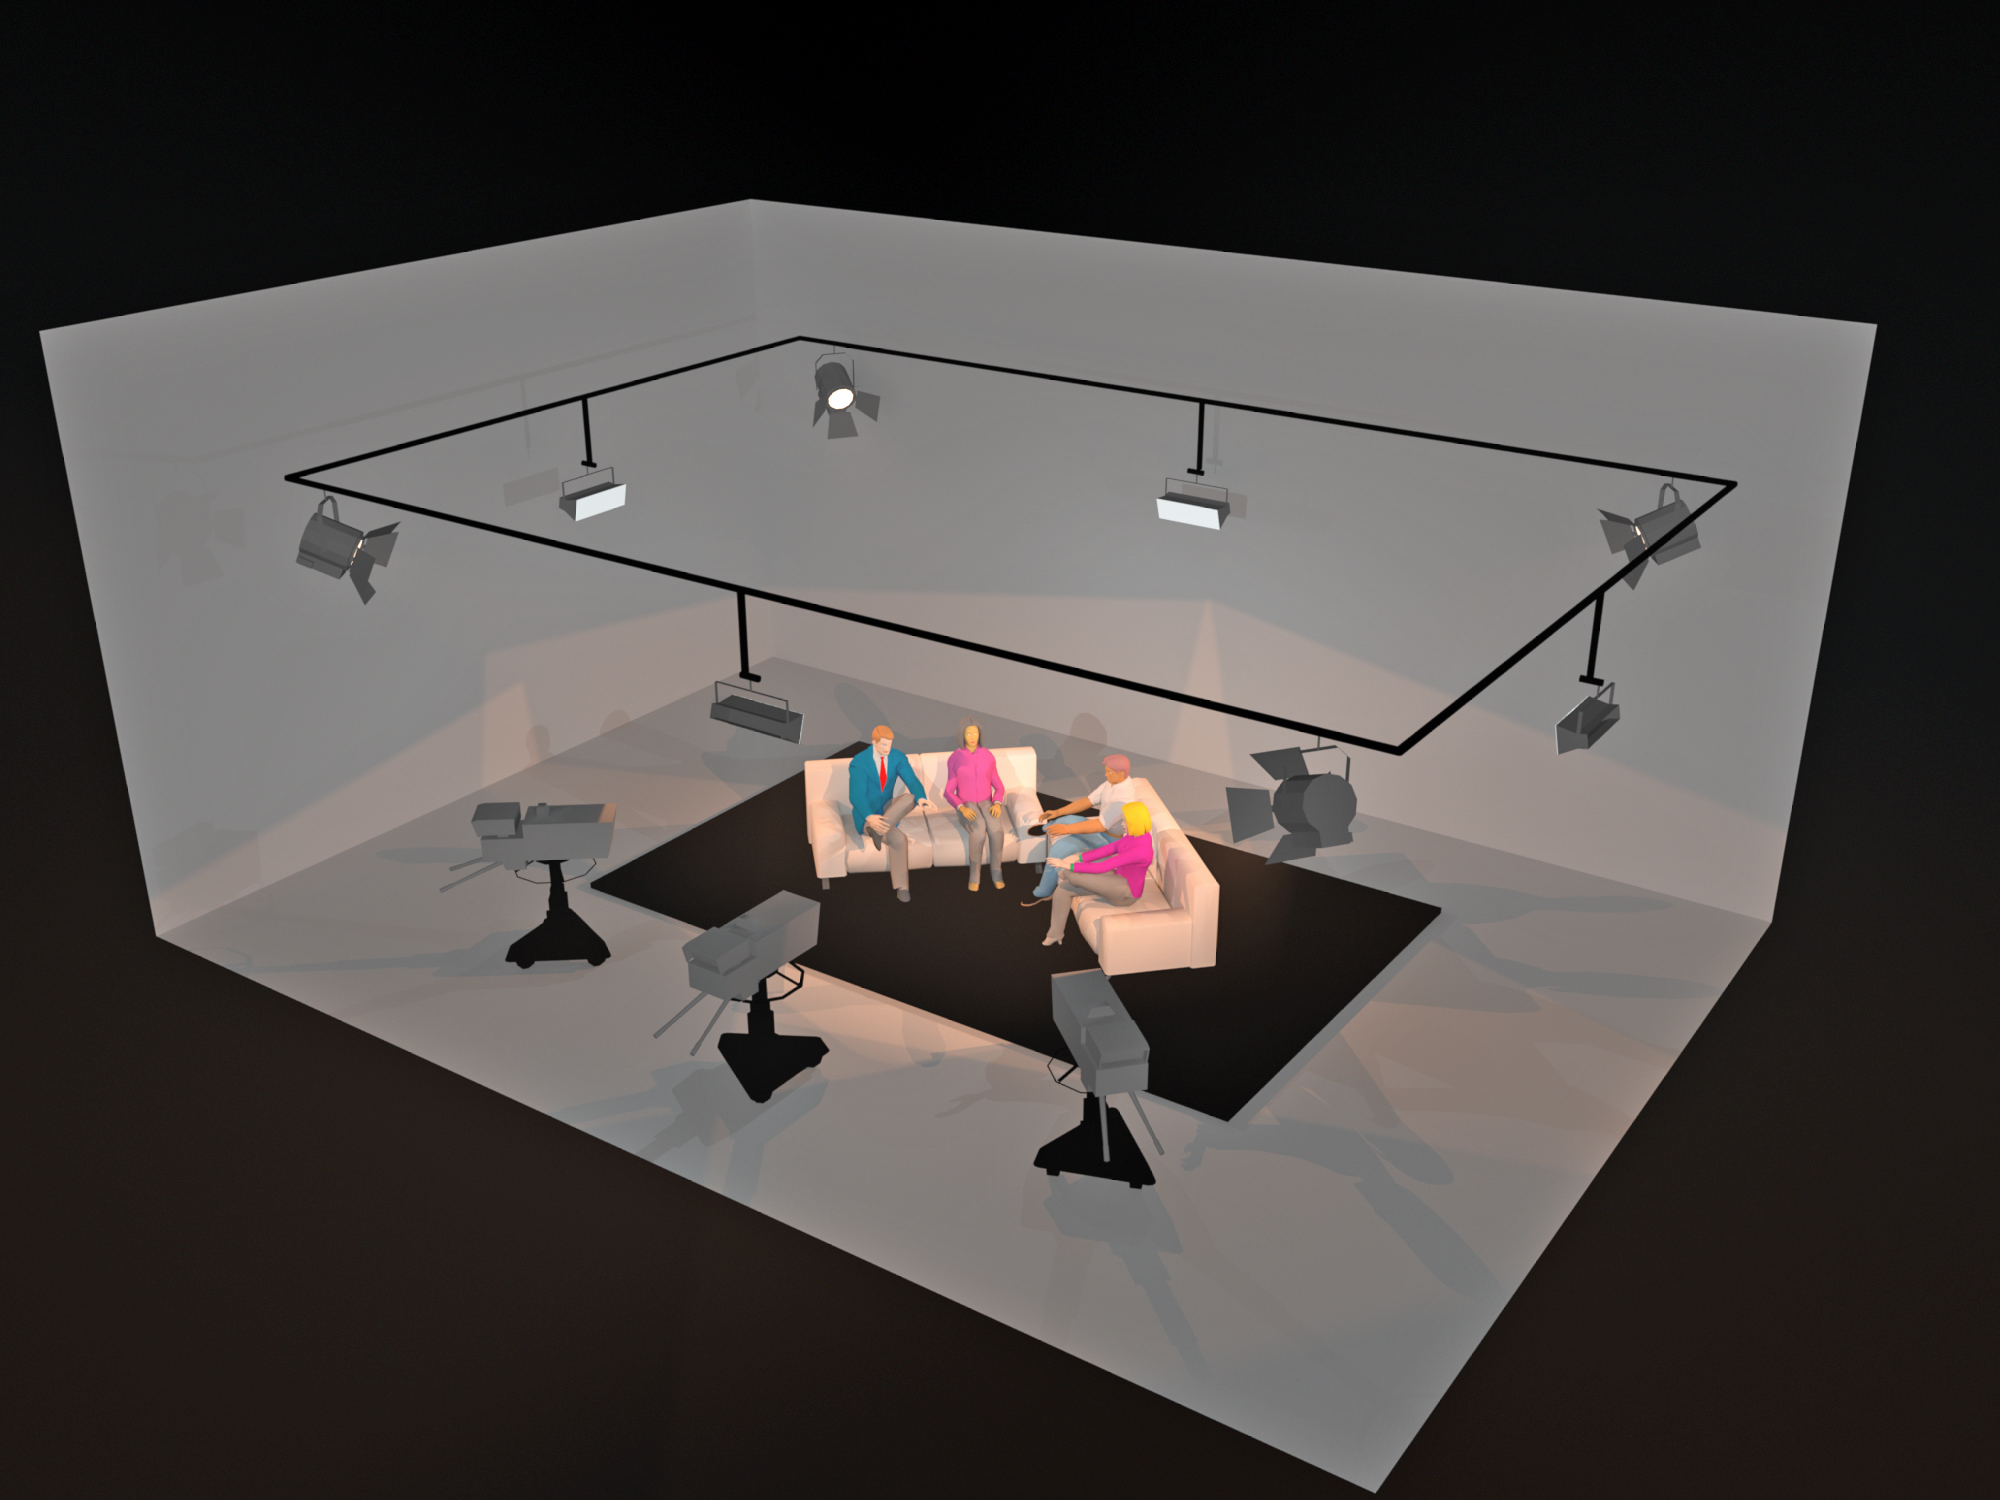
As the lighting diagram illustrates, The Dibie Four Square involves four main lights from each of the corners, adjusted as follows:
Depending on where the talent is standing (or seated) within the confines of the stage, each of these lights will function as either a key, fill, or back. This basic approach can be scaled to whatever stage size needs to be lit, from a small studio to a stadium. I’ve used this approach to cover the world’s largest bell-ringer choir for a PBS special, as well as for a small multi-use studio. It’s flexible. As with a recipe, feel free to improvise to meet your needs.
My favorite variation to the design, shown in the illustrations, includes soft-lights mid-way between the corner fixtures. These should be somewhat lower than the corner lights, as shown.
Please note that this is not the perfect approach for any specific set (the sofa set being just an example), but it is an acceptable plan for a wide variety of subjects. My thanks and acknowledgment to George Spiro Dibie for his inspiration, which lives on.
Bruce Aleksander is a lighting designer accomplished in multi-camera Television Production with distinguished awards in Lighting Design and videography. Adept and well-organized to deliver a multi-disciplined approach, yielding creative solutions to difficult problems.


